
 I might be a little late to the burlap party, but I have seen a lot of burlap projects on Pinterest. Another big trend on Pinterest? Scrabble Tile crafts, both with the actual tiles, and projects that just look like the tiles. As a long-time Scrabble lover, I knew I needed some lettered pillows, so I thought I would mesh the burlap/Scrabble thing and share the process with you.
 First, I lucked into 3-16" pillow forms at Hobby Lobby last week, 50% off. I cut 3 squares of burlap to 17", then found the center and put a pin there.
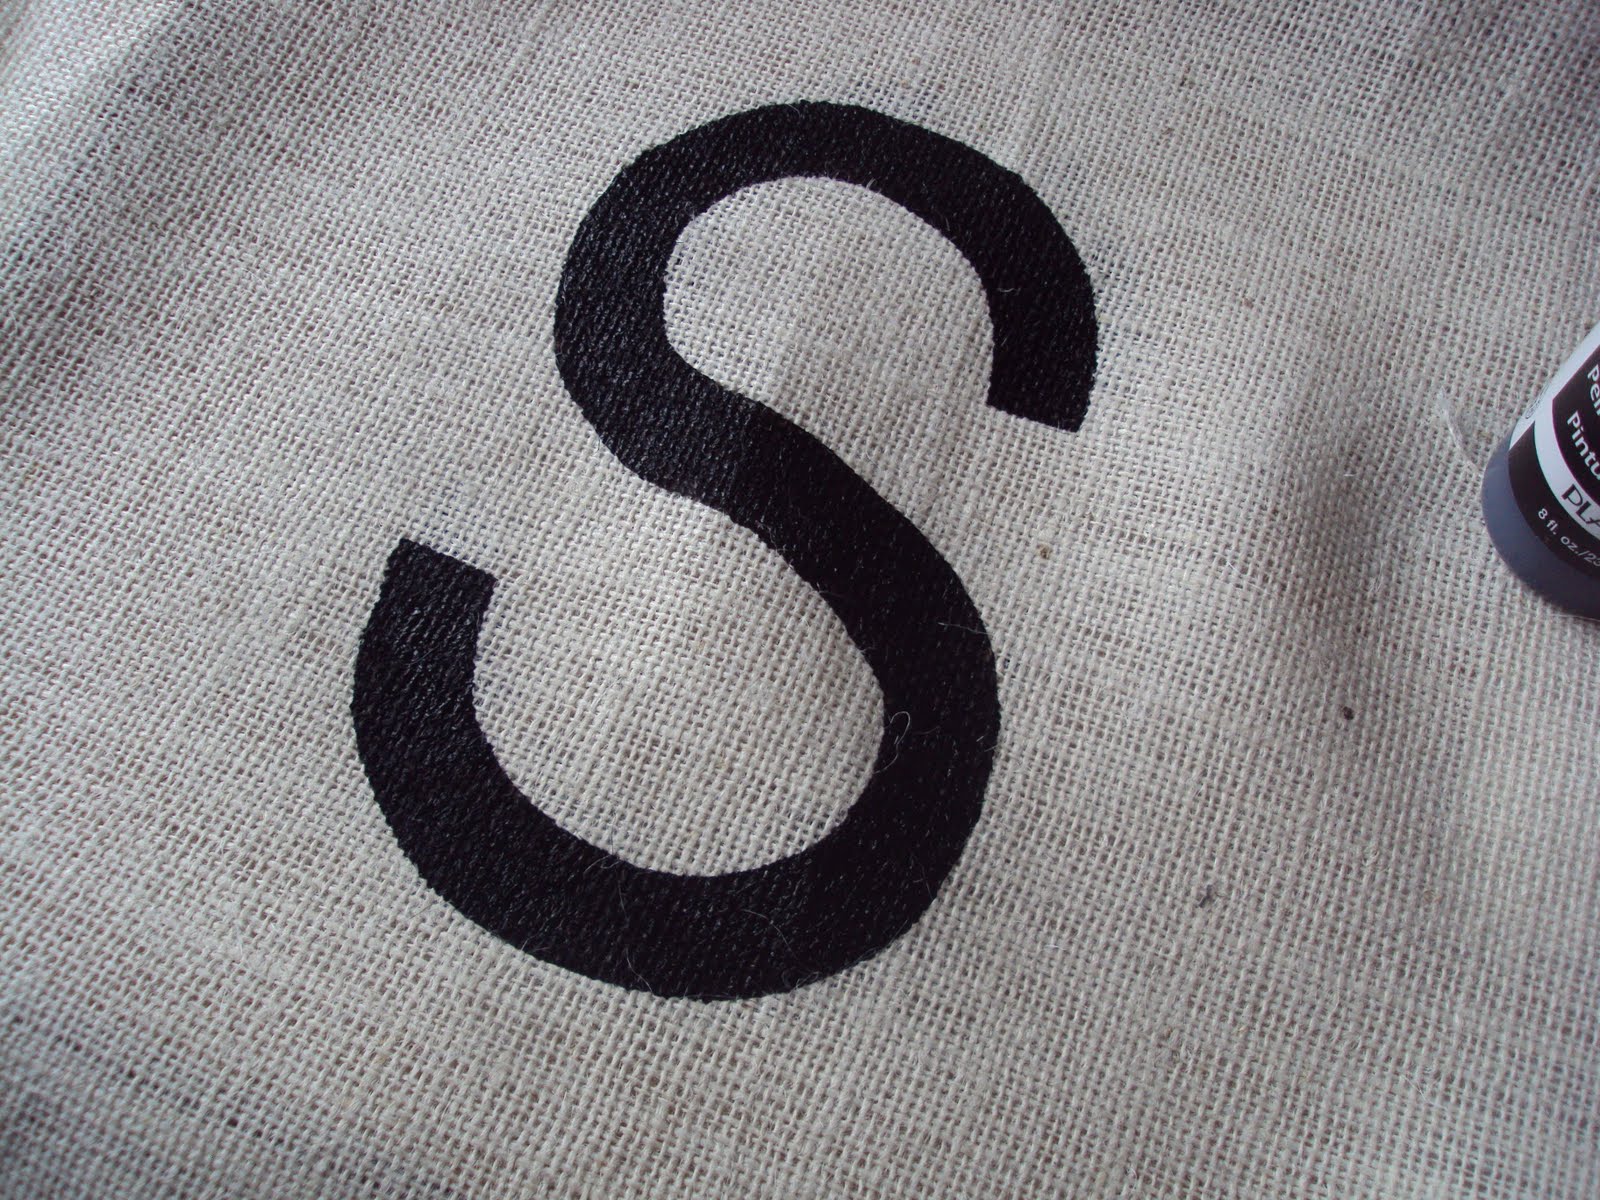
For the stencil, I printed off 8" letters using the Arial font, bold (the 1's are 3"), traced the numbers onto freezer paper and cut them out with an Exacto:


For the backs of the pillows, I used three dishtowels I had stored away in my crafty bins -- I like to use a dishtowel because the edges are already finished. Cut the towel in half and lay the halves on the burlap square, right sides together, having the towel overlap to create an envelope opening. ( Freshly Picked has a great tutorial of an envelope pillow.) Sew all around the edges, trim the seams, flip it inside out and you get this:


One more burlap craft:

To form the noodle into a wreath, start by bending it little by little -- it will easily begin to take on a circle shape. I just rolled up a 4"strip of newspaper to make a plug -- stuff it into the hole on one side, and bring the other end around and push that onto the plug. Bring the edges together as neatly as you can and tape with packing tape or duct tape. Just keep messing with it and bending it here and there and you will have a perfect circle.
I cut strips of burlap about 2" wide and wrapped them around the wreath, securing with straight pins (I'm sure you could use tape or glue, as well -- you might have to experiment with what will stick to the noodle).
Then, I tried my hand at the fabric roses I also see everywhere on Pinterest -- from pillows to sweaters to headbands. (There are several good tutorials out there for these, as well --try this great one at Portabellopixie.) You can secure these with glue or stitching, but I just used a few pins.
I made a bunch of roses out of burlap, and tried a few with cotton strips:


I think this would be a great project for fall, with a darker burlap and orangey roses.
But no time for that now -- more Pinterest fun to share tomorrow!
Peace.

I LOVE the letters on the porch swing. I'm gonna copy, but I'm not good at painting, so I think I wll applique mine. Thanks for the idea!
ReplyDeleteYour Texas cousins love scrabble and your blog. The pillows are wonderful. Keep up the creativity.
ReplyDelete